Using HCI's Remote Desktop Gateway to connect Windows PCs to a Remote Session or Windows PC at HCI.
Step 1 - Find and Start the Remote Desktop program
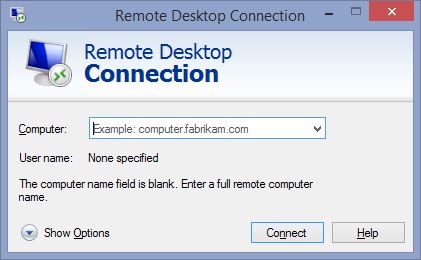
- On Windows 10 systems: Click on Start, then begin typing either "MSTSC.EXE" or "Remote Desktop", which will result in Remote Desktop Connection being found as a search result. Select it.
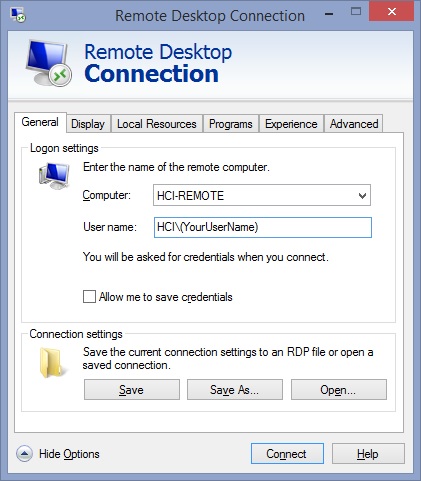
Step 2 - In the Remote Desktop Connection window like below, for Computer, enter either HCI-REMOTE for the generic HCI Remote Desktop session, or by putting your PC's name in the window, such as H001234, then select Show Options in the lower left hand corner.
(NOTE: if you are connecting to a specific PC at HCI, you will need HCI Computer Support to add your user account to the Remote Desktop Users group)
Step 3 - Click on the Advanced tab on the far right, then Settings in the "Connect from anywhere" section, located in the lower part of this window.
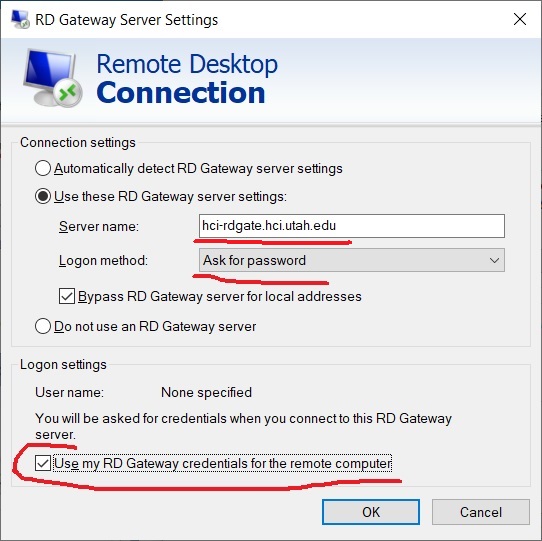
1. Under Connection settings,
2. Select the radio button "Use these RD Gateway server settings"
3. Enter hci-rdgate.hci.utah.edu under the server name
4. Select "Ask for password" under Logon method.
5. Select "Use my RD Gateway credentials for the remote computer, then select OK when everything looks like the screen below:
Step 4 - Select the "General" tab, and enter HCI\(YourUserName) in the username field, then select Save As, and save the Remote Desktop Connection profile to the Desktop, or to a folder of your choosing. Give it a name like "Work PC" or whatever you'd like.) Then you can select "Connect" and enter your HCI password, which should start the connection process, which includes a "silent" DUO push you'll need to approve.